
Recently one of the students of the Ionic Academy had the problem to send out emails using Ionic from his app with attachments, especially images.
In this Quick Win we will use the Ionic Native plugin for opening the native email client and also attach captured images to our email!
Starting a new App with Email Plugin
We start with a blank new Ionic app and install the email composer plugin from Ionic Native which is currently still marked as beta but has worked fine for me so far.
We also install the camera plugin as we first want to take an image and then attach it to our email, so go ahead and run:
|
1 2 3 4 5 6 7 |
ionic start emailAttachments blank cd emailAttachments ionic plugin add --save cordova-plugin-email ionic plugin add --save cordova-plugin-camera npm install --save @ionic-native/email-composer @ionic-native/camera # If any problems, try also: # npm install --save @ionic-native/core@latest |
The last command was currently needed some times on my machine, if you encounter Ionic Native errors give it a try.
Next we need to make sure that we import all of our plugins into our providers array inside src/app/app.moduel.ts so go ahead and add them now:
|
1 2 3 4 5 6 7 8 9 10 11 12 13 14 15 16 17 18 19 20 21 22 23 24 25 26 27 28 29 30 31 32 33 34 35 |
import { BrowserModule } from '@angular/platform-browser'; import { ErrorHandler, NgModule } from '@angular/core'; import { IonicApp, IonicErrorHandler, IonicModule } from 'ionic-angular'; import { SplashScreen } from '@ionic-native/splash-screen'; import { StatusBar } from '@ionic-native/status-bar'; import { MyApp } from './app.component'; import { HomePage } from '../pages/home/home'; import { Camera } from '@ionic-native/camera'; import { EmailComposer } from '@ionic-native/email-composer'; @NgModule({ declarations: [ MyApp, HomePage ], imports: [ BrowserModule, IonicModule.forRoot(MyApp) ], bootstrap: [IonicApp], entryComponents: [ MyApp, HomePage ], providers: [ StatusBar, SplashScreen, EmailComposer, Camera, {provide: ErrorHandler, useClass: IonicErrorHandler} ] }) export class AppModule {} |
There’s nothing more you need to import right now!
Capture Image & Add as Attachment to Email
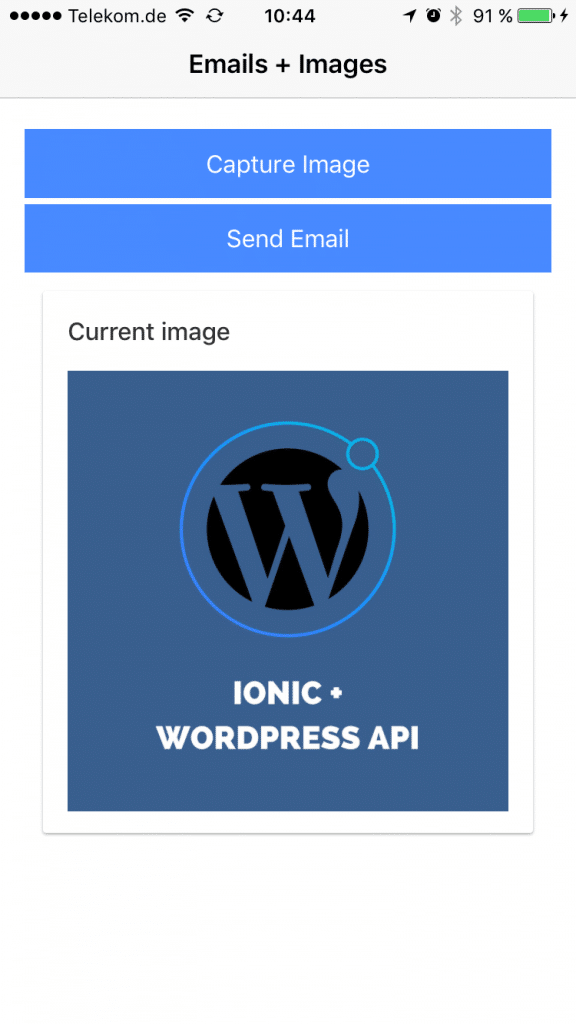
Our view will be very simple, we only need 2 buttons to call both of our functions and a place to display our current image.
Go ahead and change your src/pages/home/home.html to:
|
1 2 3 4 5 6 7 8 9 10 11 12 13 14 15 16 17 18 19 |
<ion-header> <ion-navbar> <ion-title> Emails + Images </ion-title> </ion-navbar> </ion-header> <ion-content padding> <button ion-button full (click)="captureImage()">Capture Image</button> <button ion-button full (click)="sendEmail()">Send Email</button> <ion-card> <ion-card-header>Current image</ion-card-header> <ion-card-content> <img [src]="currentImage" *ngIf="currentImage" /> </ion-card-content> </ion-card> </ion-content> |
The last missing part is now the actual implementation of capturing images and creating emails.
To use an image, we define the source type to be the library in this example and also the destination to be file uri which will retunr us a path to the image. You can check out this complete image guide for more information on capturing and working with images!
Once we got the data, we assign it to our local variable currentImage which will show it inside our view then.
If we now want to send an email, we first have to create an object of different properties. You can find everything you can define for the email on the Cordova email plugin repository.
In our case we stuff like the email, a CC email and of course our current image, very simply just inside the array of attachments!
You can then also create a special body which will prefill the email. Once you are done, make sure to call open() on the emailComposer.
Now change your src/pages/home/home.ts to:
|
1 2 3 4 5 6 7 8 9 10 11 12 13 14 15 16 17 18 19 20 21 22 23 24 25 26 27 28 29 30 31 32 33 34 35 36 37 38 39 40 41 42 43 44 |
import { Component } from '@angular/core'; import { Camera, CameraOptions } from '@ionic-native/camera'; import { EmailComposer } from '@ionic-native/email-composer'; @Component({ selector: 'page-home', templateUrl: 'home.html' }) export class HomePage { currentImage = null; constructor(private camera: Camera, private emailComposer: EmailComposer) { } captureImage() { const options: CameraOptions = { sourceType: this.camera.PictureSourceType.PHOTOLIBRARY, destinationType: this.camera.DestinationType.FILE_URI, } this.camera.getPicture(options).then((imageData) => { this.currentImage = imageData; }, (err) => { // Handle error console.log('Image error: ', err); }); } sendEmail() { let email = { to: 'saimon@devdactic.com', cc: 'max@mustermann.de', attachments: [ this.currentImage ], subject: 'My Cool Image', body: 'Hey Simon, what do you thing about this image?', isHtml: true }; this.emailComposer.open(email); } } |
Note that you can’t test this functionality inside the browser, you need a simulator or device and of course an email account on that device.
If you capture and image or pick one from your library you should see it in the card below the buttons like in the image below.
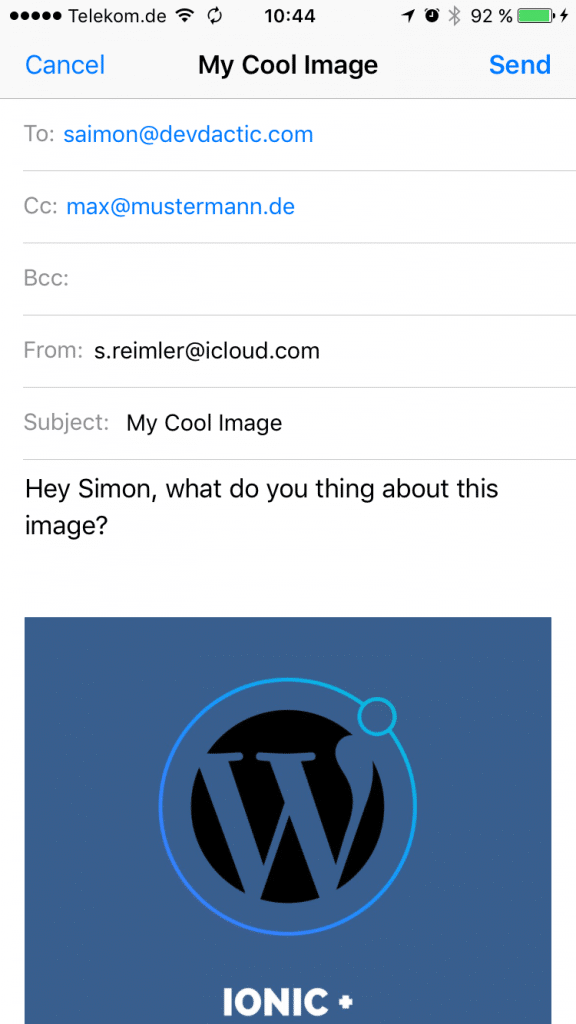
Once you hit send your native email client will appear and prefill your email with all the values you have specified for your email. In my case it would look like this:
Implementing email attachments and creating your own predefined emails with Ionic is really super easy if you know how to. Besides installing and adding the plugin there is nothing were you could really go wrong.
The only thing you might want to add is an additional check whether the email account/ client is available, but you can do this as well with the Ionic Native email composer plugin!
You can find a video version of this article below.
Y para enviar el correo directamente si pasar por gmail??
amigo, pudiste resolver esto? tengo la misma inquietud, es decir, enviar el email sin pasar por la ultima pantalla. Gracias.
Misma consulta que jaime… Se puede enviar un email desde Ionic sin tener que pasar por la ultima pantalla de envio? es decir, que mande el email directamente.
Gracias.